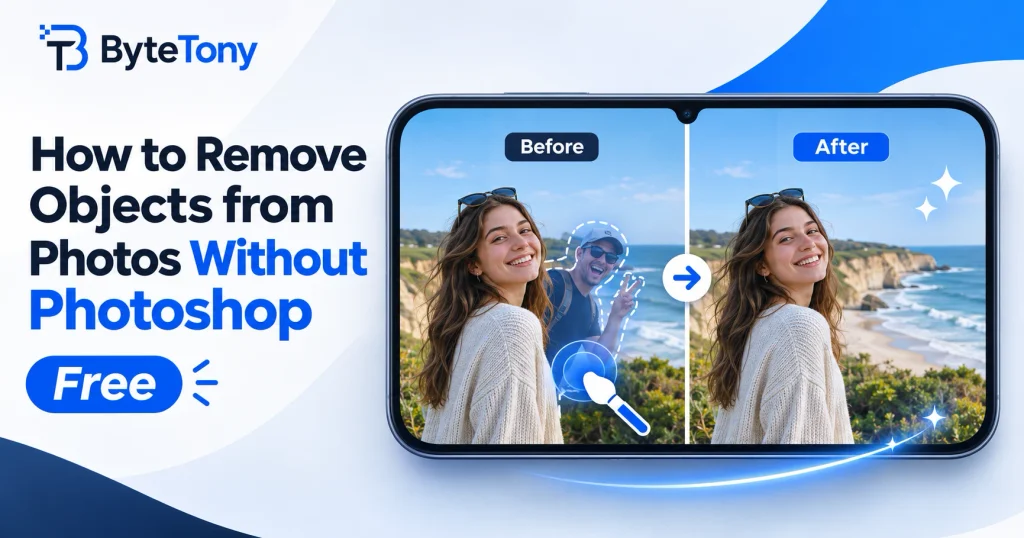
Want to remove objects from photos without Photoshop? A photobomber, stray sign, trash can, or power line can spoil a good shot. Free AI erasers can remove these distractions while keeping the background intact. Here’s how to do it on Windows, your phone, or in a browser.
Note: This article contains affiliate links. If you buy through them, we may earn a small commission at no extra cost to you.
Table of Contents
Method 1: Windows Photos Generative Erase (Windows 10 & 11)
Generative Erase is a free AI-powered feature in Microsoft Photos. It removes unwanted objects and fills the selected area using the surrounding image.
- Open your picture in the Photos app.
- Select Edit (or press Ctrl+E).
- Open the Erase tool.
- Adjust the brush Size and paint over the unwanted object.
- Save the edited image as a copy to preserve your original.
With Auto apply enabled, the object is removed when you finish brushing. Turn it off to select multiple areas before clicking Erase.
Can’t find Generative Erase? Update Microsoft Photos through the Microsoft Store. Feature availability may depend on your app version.
Privacy advantage: Microsoft confirms that Generative Erase processes images locally on your device, without uploading them for AI processing. See the official Microsoft Photos guide.
Method 2: Google Photos Magic Eraser (Android & iPhone)
Google Photos includes Magic Eraser for free on supported devices, without requiring a paid subscription.
Most editing features require at least 3 GB of RAM and Android 8.0 or later, or iOS 18 or later. Availability varies by device and app version.
- Open your image in Google Photos and tap Edit.
- Find Magic Eraser under Actions, or search for it in the editor.
- Brush over or circle the object you want to remove.
- Select Erase if prompted, then tap Done.
- Choose Save as copy to preserve the original.
On supported versions, you can also select an object directly in the editor and choose Erase.
If removing an object creates an unnatural patch, try Camouflage if available. It changes the object’s color to make it less noticeable rather than removing it.
Note: Google’s limit of 10 Magic Editor saves per month for some free users does not apply to Magic Eraser.
Alternative for Apple Devices: Clean Up
If you have a compatible iPhone, iPad, or Mac, Apple’s Clean Up feature offers another way to remove distracting objects.
Open Photos → Edit → Clean Up, then tap, brush, or circle the unwanted object.
Clean Up requires Apple Intelligence on supported devices, including iPhone 15 Pro models, iPhone 16 models or later, compatible iPads with A17 Pro or M1 and newer, and Macs with Apple silicon. It requires compatible software, starting with iOS/iPadOS 18.1 or macOS Sequoia 15.1. Availability varies by language and region.
Method 3: Cleanup.pictures (Any Browser, No Installation)
Cleanup.pictures is useful for Chromebooks, Macs without Clean Up, or anyone who prefers editing online.
- Open Cleanup.pictures in your browser.
- Upload your image.
- Brush over the object, covering its edges and shadow.
- Let the AI rebuild the background, then download your edited photo.
Free plan limitation: You can edit unlimited images, but exports are limited to 720px. This may work for small web graphics, but it’s often insufficient for full-width blog images, high-resolution social posts, or printing.
Pro offers higher-resolution exports. Check the official website for current pricing.
Privacy: Cleanup.pictures processes images online, so your photos are uploaded to a remote service. Review its privacy policy before uploading sensitive images. For private photos, Windows Photos may be a better choice.
If an iPhone HEIC image won’t upload, convert it to JPG using the free ByteTony Image Converter.
Another option: CapCut also provides AI-powered object removal through its photo editor. In supported versions, open AI Design, upload your photo, select AI Tools → Remove, brush over the object, and choose Generate. Check the available features and export conditions before starting.
Tips to Remove Objects from Photos Without Photoshop
- Cover the edges: Brush slightly beyond the object and include any visible shadows or reflections.
- Work in smaller sections: Removing large objects in several passes often produces cleaner results.
- Retry imperfect areas: Undo the edit and use a smaller or differently shaped selection.
- Choose simple backgrounds: AI works best with skies, walls, grass, and other relatively uniform surfaces. Complex patterns, text, and overlapping subjects are harder to reconstruct.
- Keep the original: Always save an unedited version in case the AI produces unwanted changes.
Removing an object is different from removing the entire background. If you need a transparent background instead, see our guide on How to Remove Background in Photoroom for Free.
Conclusion
You can remove objects from photos without Photoshop using tools you may already have.
- Windows Photos: Best for private, on-device desktop editing.
- Google Photos or Apple Clean Up: Convenient for compatible phones and Apple devices.
- Cleanup.pictures: Simple browser-based editing with a free export-resolution limit.
- CapCut: An additional AI editing option worth exploring.
Once your photo looks right, use ByteTony’s free Image Resizer to adjust its dimensions or Image Compressor to reduce its file size.
For more website optimization tips, read How to Compress Website Images Without Losing Quality.
Enjoyed this guide? Support ByteTony and help us create more simple, beginner-friendly tech guides.
☕ Support ByteTony