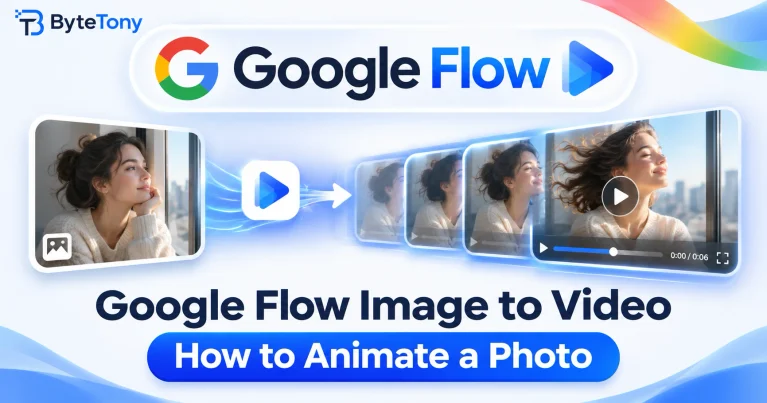
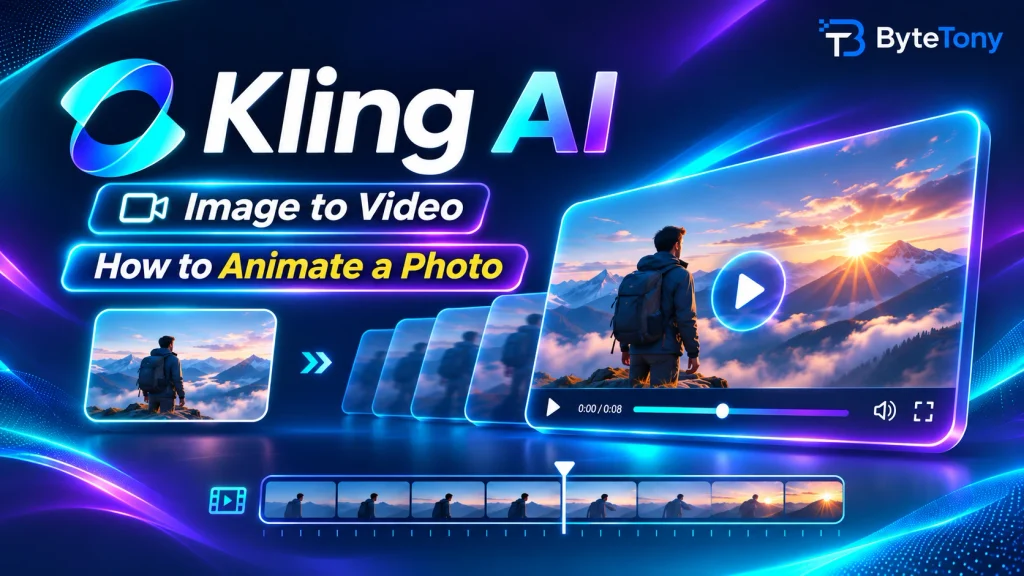
Kling AI Image to Video lets you turn a still photo into a short, animated clip using artificial intelligence. In this beginner-friendly guide, you’ll learn how to upload an image, write a motion prompt, choose the right settings, and generate your first video with Kling AI.
You only need a Kling AI account, a clear photo, and a simple idea for how the image should move.
Affiliate disclosure: This article contains affiliate links. If you purchase through them, we may earn a small commission at no extra cost to you.
Table of Contents
How to Use Kling AI Image to Video (Step by Step)
Step 1: Upload a Clear Photo
Visit the official Kling AI website at kling.ai, create an account, and open the video generation workspace.
Kling 4.0 offers two creation modes: Omni Reference and Keyframes. For beginners animating a single photo, Keyframes provides a straightforward starting point.
Upload your image as the first frame.
For better results:
- Choose a sharp image with one clear subject.
- Avoid blurry faces or heavily distorted objects.
- Use a photo with enough space for natural movement.
Kling 4.0 supports images up to 30 MB, with aspect ratios between 2:5 and 5:2. In Keyframes mode, the video follows the first image’s aspect ratio.
Don’t have a suitable photo? Learn how to create AI images for free or prepare your existing picture with the free ByteTony Image Editor before uploading it.
Step 2: Write a Simple Motion Prompt
Tell Kling what should happen in the video rather than repeating what the image already shows.
A useful formula is:
Subject action + Camera movement + Lighting or mood
For example:
“Use @Image1 as the first frame. The cat slowly turns its head toward the window. Sunlight illuminates its fur while the camera gently moves closer. Natural, realistic movement.”
Keep your instructions specific and physically realistic. Simple actions generally make better starting points than complex sequences.
Kling recommends descriptive prompts and limiting unnecessary negative instructions. You can specify “no subtitles” or “no background music” when needed.
Step 3: Choose Your Model and Video Length
Select Kling 4.0 if it’s available with your account.
The model supports videos between 3 and 30 seconds, with resolution options including 720p, 1080p, and 4K, depending on availability and account access.
For your first attempt:
- Start with a 3–5 second clip.
- Choose 720p if available.
- Use one simple movement.
- Check the displayed Credits cost before generating.
Kling 4.0 Flash is another option for shorter videos, supporting up to 20 seconds at 720p. However, it doesn’t support first-and-last-frame or multiple-keyframe control.
For detailed specifications, see the official Kling 4.0 user guide.
Step 4: Generate and Download Your Video
Click Generate and review the result once processing finishes.
Pay attention to faces, hands, object shapes, and camera movement.
If the result looks unnatural, try these adjustments:
- Unnatural motion: Describe one simpler action.
- Unexpected cuts: Request one continuous shot.
- Missed instructions: Replace vague descriptions with specific actions.
- Distorted subjects: Use a sharper image or reduce movement.
Change one element at a time instead of rewriting the entire prompt.
Once you’re satisfied, download the video using the options available with your account.
If you want to add captions, music, or combine several clips, you can finish editing with CapCut.
Is Kling AI Image to Video Free?
Kling AI offers limited free access, but available Credits, models, and features can vary by account and current promotions.
Some advanced capabilities, including higher-resolution generation and watermark removal, require a qualifying paid membership.
Kling also offers paid plans with additional generation Credits and premium features. Before subscribing, check the current pricing, commercial-use permissions, and available resolutions.
According to Kling’s Credits Policy, Credits spent on failed generations are refunded. However, an unsuccessful creative result isn’t necessarily treated as a failed generation.
Tip: Always check your Credits balance and the generation cost before starting a new video.
Frequently Asked Questions
Can I Control How the Video Ends?
Yes. Kling 4.0 supports first-and-last-frame generation through Keyframes.
Upload a starting image and an ending image, then describe the transition between them. Similar compositions can help produce smoother results.
Can I Animate a Photo of Someone Else?
Only upload images you have the necessary rights and permissions to use.
A paid subscription doesn’t automatically grant rights to another person’s likeness or copyrighted material.
Avoid uploading confidential or sensitive photos, and review Kling AI’s current terms before using generated content commercially.
Conclusion
Kling AI Image to Video makes it possible to transform a single photo into a short animated clip without traditional animation skills.
For the best starting experience, choose a clear image, describe one realistic movement, and generate a short test before attempting longer scenes.
Experiment with different prompts, review the results, and gradually add more creative camera movements as you become comfortable with the tool.
Enjoyed this guide? Support ByteTony and help us create more simple, beginner-friendly tech guides.
☕ Support ByteTony